How to Turn a Hand-Drawn Motif into a Seamless Repeat Pattern
Somewhere in a sketchbook there is a motif you keep coming back to: a scribbled leaf, a wonky pear, the mug you drew on a train. Turning it into a seamless repeat is less about flair than about careful repair work. You tidy the edges, teach the corners to talk to each other, then check the join with your own eyes instead of trusting the screen. The first one takes an afternoon. After that it becomes a rhythm you can run through in an hour.
Before you scan: prepare the drawing
Good repeats are usually decided on paper, not in software. A few minutes of prep saves an hour of fiddling later.
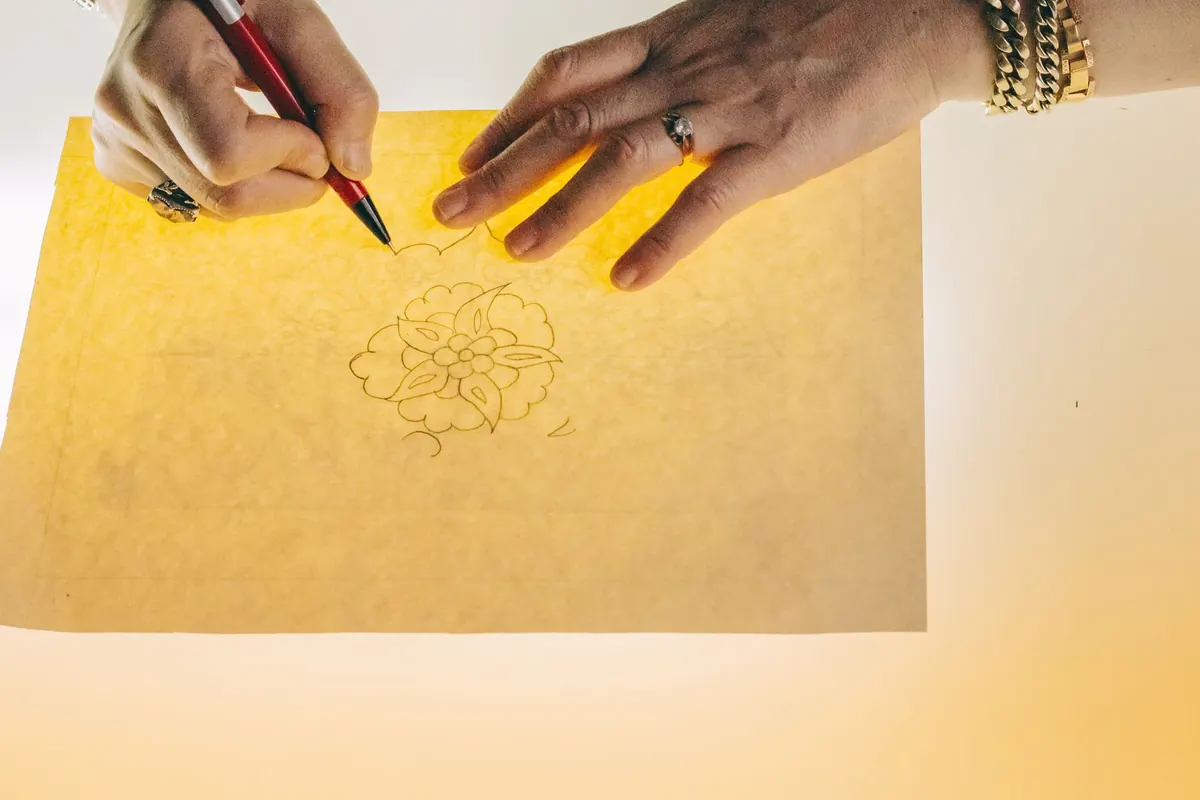
Draw the motif whole. If a shape runs off the edge of the page, you will be guessing at the missing section once the tile is built. Give it breathing room, and work on smooth paper so the pencil does not catch on the grain. If your sketch is faint, go over it in a fine liner or dark pencil. Contrast matters more than neatness: a wobbly line digitises beautifully, a pale one turns to mud.
Scan at 300–600 dpi and save the raw file without touching it. That scan is your master copy, and you will want it again when you try a different scale or a different colourway.
Get the artwork into your software cleanly
Open the scan and push the contrast. Levels or a threshold adjustment will separate pencil from paper and kill the grey haze around every line. Then tidy up: erase stray specks, dust and the corner of your hand that always ends up on the page.
Next, isolate the motif on a transparent background. In a raster app, mask it out or use the magic wand with a soft tolerance, then clean the edge with a small brush. In a vector app, trace it and delete the background shape. Either way, you want the motif floating free before you start arranging copies of it.
Vector or raster?
Choose by texture, not by habit. Vector line work stays crisp at any size, which is ideal for simple outlines, flat shapes and anything that might be printed large. Raster keeps brush marks, watercolour edges and grain — the things that made you draw it by hand in the first place. A common compromise is a vector outline with a raster texture laid on top, but keep the two on separate layers so you can adjust them independently.
Build the tile
Start with a square canvas that matches your intended print size. A tile that prints at 10 inches square needs to be 3000 × 3000 pixels at 300 dpi. Square is easiest; rectangular tiles work too, but the maths needs to be exact.
Place your motif roughly in the centre. Then comes the step that separates a real repeat from a grid of stamps.
The offset method
In Photoshop, go to Filter > Other > Offset. Set the horizontal and vertical shift to exactly half the canvas width and height, and choose Wrap Around. Your motif jumps to the middle and its sliced edges reappear on the opposite sides. Now fill the empty space with new motifs, always remembering that anything touching an edge continues on the far side. When you are finished, run Offset again with the same values. Everything returns to its original position and the joins are gone, because the artwork genuinely wraps rather than sitting in a box.
If you work in Illustrator, Object > Pattern > Make does this live: the repeat updates as you draw, and you can watch the seam while you fix it. Inkscape users can reach the same result with Create Tiled Clones set to simple translation. Apps without an offset filter, Procreate included, need you to duplicate the motif layer and nudge it by exactly half the canvas before drawing across the edges.
Spacing, scale and flow
Scatter your motifs unevenly enough to look natural but evenly enough to avoid bald patches. Vary the scale — one motif at full size, one at 70 per cent — and rotate a few copies. Watch for accidental diagonals: if three motifs line up across the tile, your eye will follow that invisible line forever. Tossed layouts hide this well. Half-drop and brick arrangements are tidier and suit formal or geometric motifs.
Test the repeat properly
Do not judge a repeat from a single tile. Fill a large area with a grid of copies — four by four is usually enough — and run these checks:
- Stand back from the screen and squint. Clumps, gaps and unwanted stripes show up immediately at a distance.
- Look at the corners, where four tiles meet. They should look as ordinary as the middle of any tile.
- Zoom to 100 per cent and inspect each join at actual print size, not at fit-to-screen.
- Convert the whole grid to greyscale. A repeat with a dark corner and a pale one reads as a printing fault.
- Print it, tape several sheets together, and pin them to the wall. Paper reveals problems that a backlit screen hides.
- Check it on a curved or draped surface if the design is destined for fabric or wallpaper.
If something looks off, fix it in the tile and repeat the test. It is normal to go round two or three times.
Export a tile that prints without seams
Export the tile itself, not a preview of the repeat. Keep the pixel dimensions exact — an odd number will cause a sliver of a seam when the file is tiled by a printer or a print-on-demand service.
For print, aim for 300 dpi at final size and save as TIFF, PNG or a high-quality JPEG. PNG is the better choice if you need transparency for coloured garments or paper. Work in RGB for screens and convert to CMYK for print, but expect a shift: bright greens and saturated blues dull noticeably in CMYK, so decide on colour after conversion rather than before.
Name the file with its motif, tile size and colourway, for example poppy-tile-10in-sage. When you have twenty of them, you will be glad you did.
Make the last ten per cent count
The difference between a good repeat and a professional-looking one is almost always the final check, not the drawing. Build the habit of viewing your tile at full size, in greyscale, on paper, before you send it anywhere. Keep a swatch book of finished tiles — printed at the size they will actually be used — and note what you changed and why. Two or three motifs later, you will spot a bad join in seconds, and the whole process will feel less like repair work and more like design.
Photo: Sedanur Kunuk / Pexels
How to Carve Rubber Stamps for Repeating Motifs on Fabric
Carve a simple rubber stamp, load it with fabric ink and print evenly spaced repeats onto cotton or linen...

Motif vs Pattern: What's the Difference in Surface Design?
A motif is a single self-contained shape; a pattern is what you get when repeats, layout, scale and colour...
About Us